Table of Contents
Initialize Kubernetes on the host
Initialize bare metal load-balancer
Introduction
In this part we will concentrate on the installation of OpenSuse Kubic for a small home server intel NUC with home router DHCP networks. Another interesting point is that there is an installer for Raspberry Pi, however we’ll leave it for another tutorial.
Containerisation technologies have been appears for years, but it wasn’t until Docker’s breakthrough that they began to reach a wider audience, thanks to the fact that one of the purposes of the solution is to facilitate the deployment of software containers. Since then, technologies have emerged that try to facilitate their management.
The containers, together with microservices and other forms of application delivery, have become a change that has been quite abrupt for many. In order to further facilitate the deployment process, the Kubic project take advantage of the best of these new concepts and bring them to openSUSE to provide the best support for these new technologies. These are the parts the developers are working on now:
- Transactional updates.
- MicroOS.
- Tumbleweed Kubic.
- Alternative container execution environments (CRI-O, Podman).
- Containers without root.
For more information link
Install OpenSuse Kubic
After downloading the last ISO from the Project OpenSuse Kubic, burn this media to a DVD or USB Stick, and then boot your first system from it.
let’s install the OS.
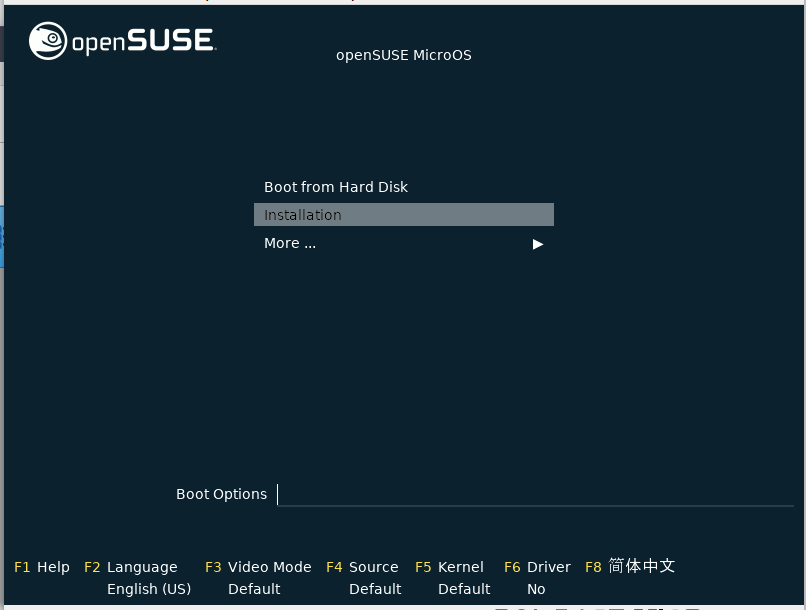
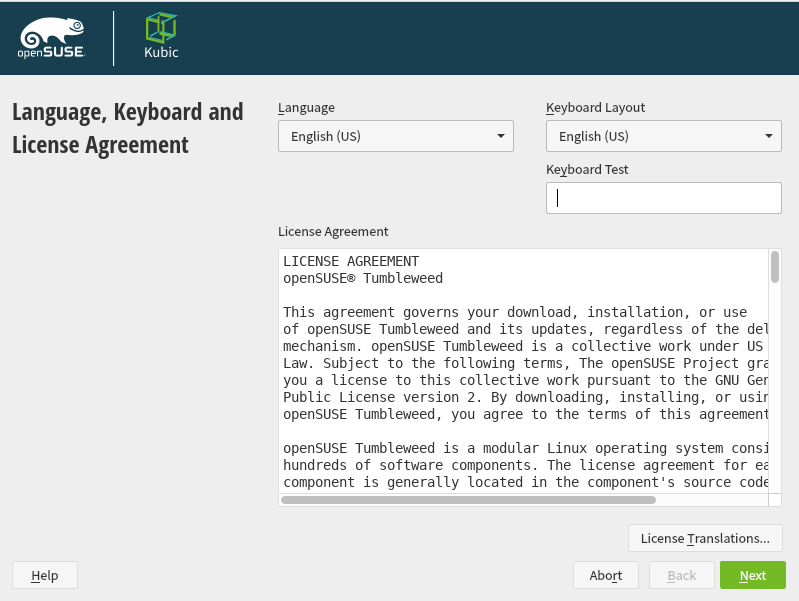
Select your Keyboard Layout and License Agreement.
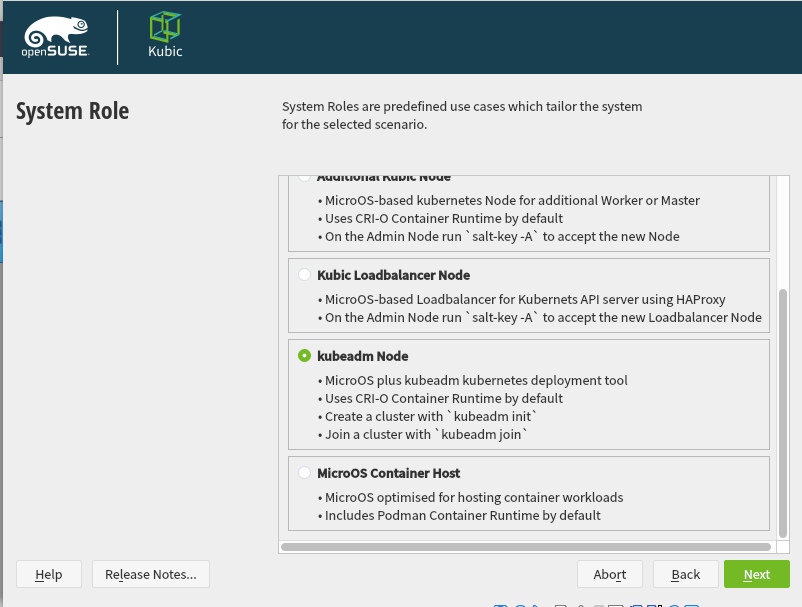
Select the following “System Roles” in the select option “kubeadm Node”
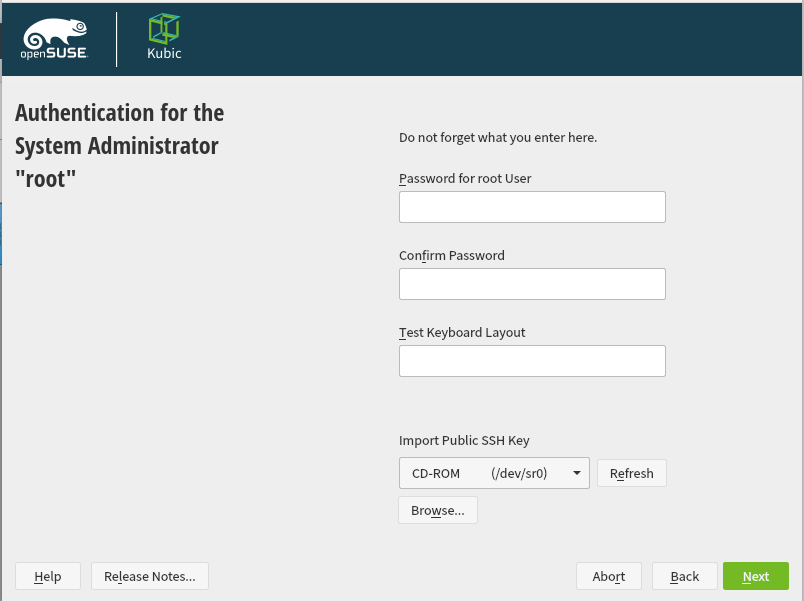
Enter your root password.
In the installation setting, I can propose to activate also other option of Podman. It’s not mandatory and it’s just if you want to play like me with it. So, select the option “Software”
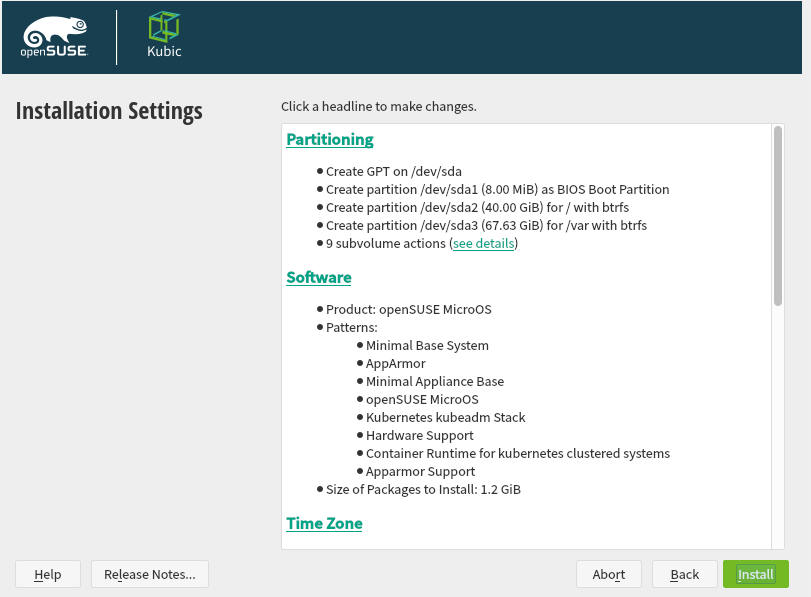
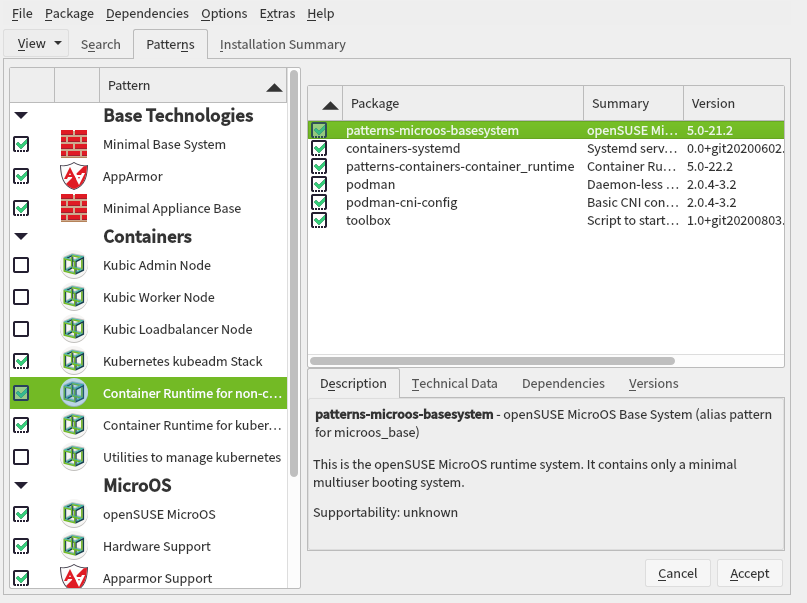
And after select the option “Container Runtine for non-containers” and accept.
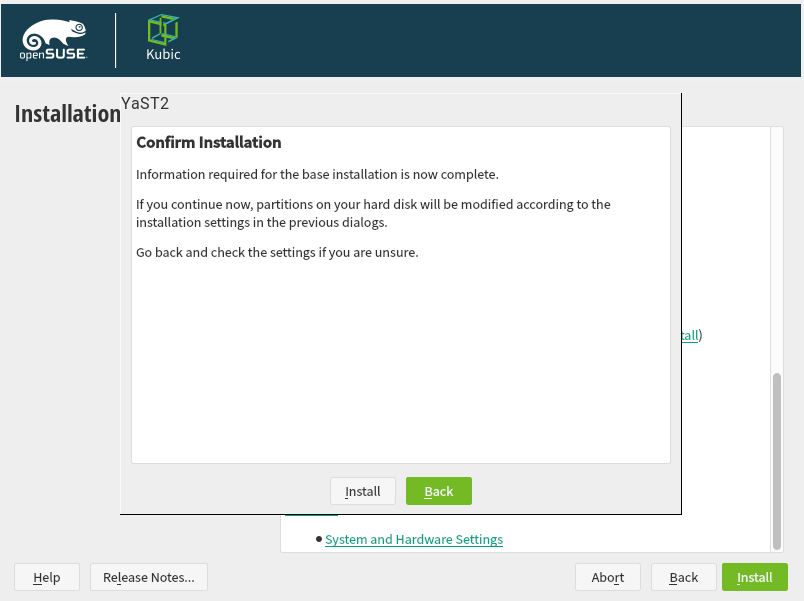
To finish select install option and confirm.
After the installation is finish and the os reboot, you can access with the root user.

Initialize Kubernetes on the host
Login using the root password set during the installation.
Label of your Node Kubernetes
I can advise you to check your connection configuration for your hostname, because the one label of your Node Kubernetes will be taken from hostname.
So, to avoid to set your hostname via router DHCP and maintain a name you like.
vi /etc/sysconfig/network/dhcp
And verify if you have for IPv4 and IPv6.
DHCLIENT_SET_HOSTNAME="no"
Set your hostname by editing the file and reboot.
vi /etc/hosts
DHCP IP reservation for Node
It’s important to maintain the same IP for your server in the DHCP networks, as you can lost your access to kubernetes cluster node.
So check how you can set a reservation IP address for a device. When you use DHCP IP reservation, you’re telling your wi-fi to assign the same IP address to a specific device whenever that device connects to your network. Your are not configuring a static IP networks, it’s just on the DHCP networks you links the MAC device with hostname and particular IP.
Setting up Kubernetes master
Activate your homeserver like master.
kubeadm init
Wait a little bit and your Master should now be initialised. Please take a note of the token line with kubeadm join.
Preliminary kubernetes setup
Configure the root user to be able to talk to the cluster by running.
 mkdir -p ~/.kube
 cp -i /etc/kubernetes/admin.conf ~/.kube/config
Setting up the network plugin
According the OpenSuse Kubic help, there are three option but Weave is the recommended for most basic use cases.
Setup weave by running
kubectl apply -f /usr/share/k8s-yaml/weave/weave.yaml
Single Master Operation and allow Pods to run on the master
The following command removes the limitation of running Pods on the master node.
kubectl taint nodes --all node-role.kubernetes.io/master-
You can run “kubectl get nodes -A” to confirm your cluster is operational.
Bravo! You now have a working Kubernetes cluster.
kubectl shell autocompletion for bash
Active the shell command-line completion, this one allows you to quickly build your command without having to type every character.
Install the package.
transactional-update pkg in bash-completion
And add the kubectl completion bash.re
echo 'source <(kubectl completion bash)' >>~/.bashrc
Initialize bare metal load-balancer
MetalLB is a great load balancer for a home Kubernetes cluster. It allows you to assign real IPs from your home network to services running in your cluster and access them from other hosts on your home network.
Help for the site Metalbl
Install the metallb-k8s-yaml package.
transactional-update pkg in metallb-k8s-yaml
Apply the components
kubectl apply -f /usr/share/k8s-yaml/metallb/namespace.yaml

kubectl apply -f /usr/share/k8s-yaml/metallb/metallb.yaml
After applying the manifests, create a random Kubernetes secret for the speakers to use for encrypted communications:
kubectl create secret generic -n metallb-system memberlist --from-literal=secretkey="$(openssl rand -base64 128)"
configure MetalLB and create a configMap that describes the pool of IP addresses the load balancer will use.
Configure the address pools
In my home network, IP addresses are assigned by the DHCP server my router is running. So with the a configMap we’ll define the details of the addresses it can assign to the Kubernetes Service LoadBalancers.
vi metallb-cf.yaml
Put this parameter and change your ip range.
apiVersion: v1
kind: ConfigMap
metadata:
  namespace: metallb-system
  name: config
data:
  config: |
    address-pools:
    - name: default
      protocol: layer2
      addresses:
      - 192.168.2.50-192.168.2.70 <= Select the range you want.
and apply it.
kubectl apply -f metallb-cf.yaml
Test MetalLB
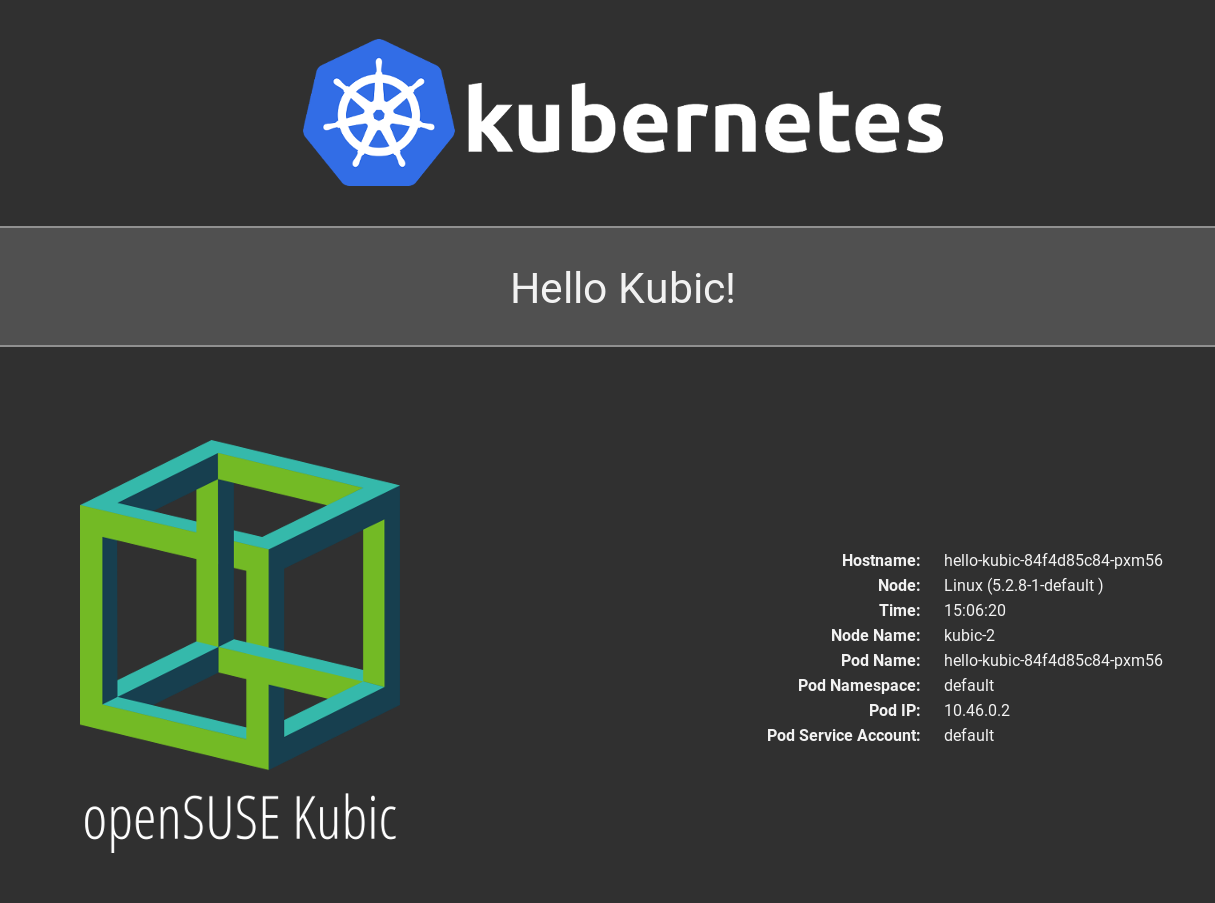
You can test the new MetalLB configuration by creating an example web service. Good, there is the following option in Kubic to test it :) hello-kubic.
To deploy the service.
kubectl apply -f https://raw.githubusercontent.com/thkukuk/hello-kubic/master/yaml/hello-kubic.yaml
Check your external IP adress.
kubectl get svc
 NAME          TYPE           CLUSTER-IP     EXTERNAL-IP    PORT(S)        AGE
 hello-kubic   LoadBalancer   10.97.119.87   192.168.1.50   80:31473/TCP   6s
 kubernetes    ClusterIP      10.96.0.1      <none>         443/TCP        5d3h
Open your favorite browser and put the external IP.
Thank you for the initial photo.
Photo by Linus Ekenstam on Unsplash